1
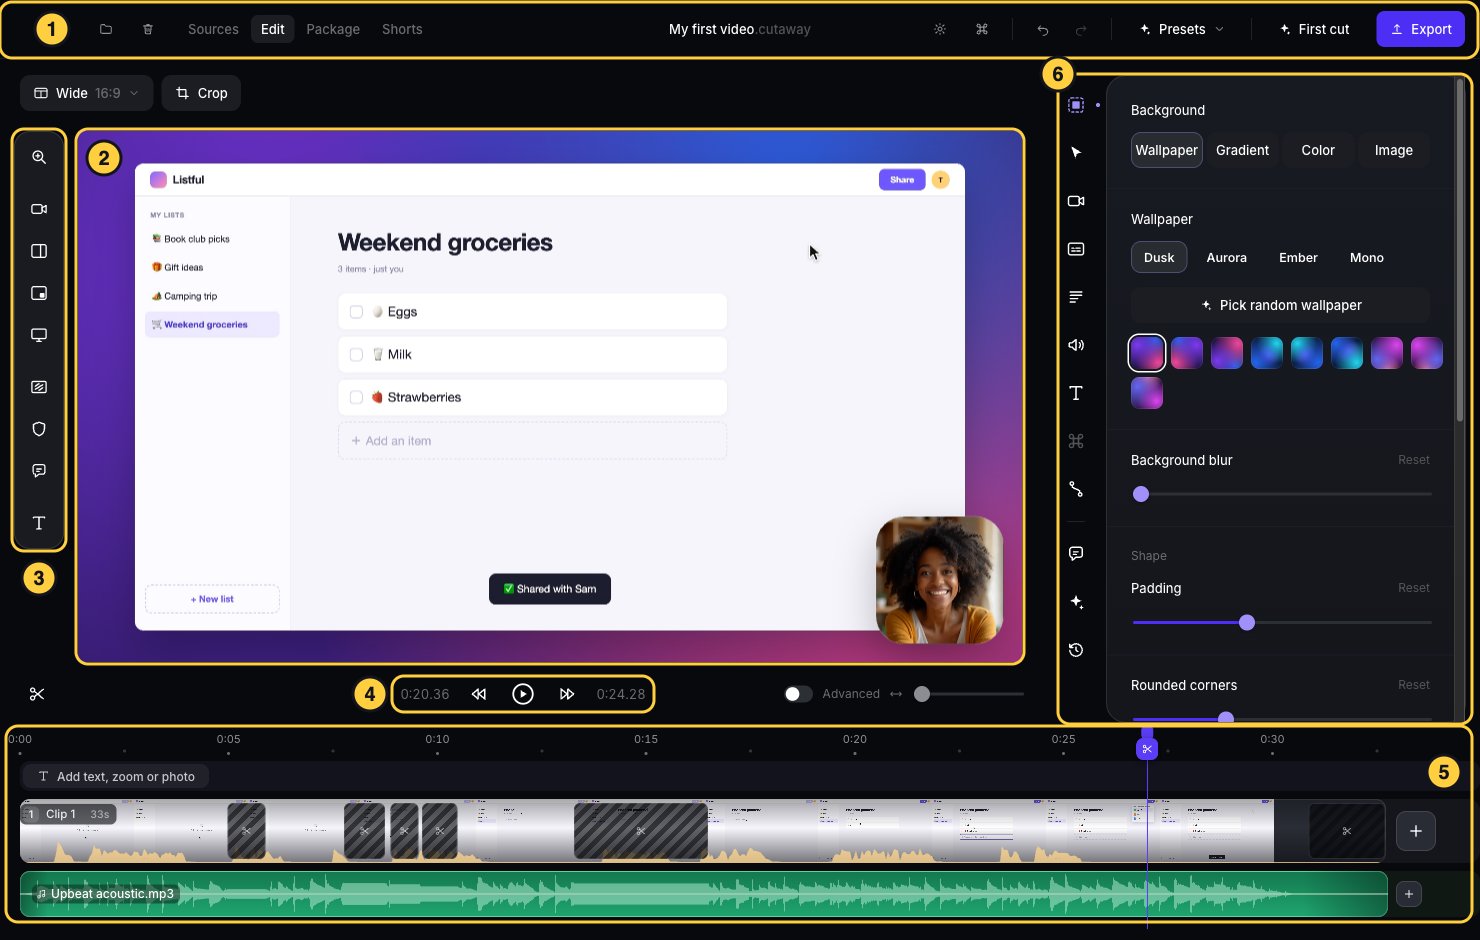
Top bar
Switch between pages: Sources (your files), Edit, Package (thumbnail and title) and Shorts.On the left, the folder button takes you back to your other projects. The trash button is Move project to Trash. Cutaway asks first, and you can still get the project back from the Trash.On the right are Settings (the gear), the Command menu (or press Command + K), Undo and Redo, Presets (save and reuse a look), First cut and Export.
2
Preview
The big picture. It shows exactly what your finished video will look like at this moment.
3
Add tools
Buttons to add things at the playhead: a zoom, a camera layout, a blur over private info, a callout or text. The shield button looks for private info for you, like emails and passwords. See Let Cutaway find private info.
4
Play controls
Play and pause (or press the Space bar). The arrows jump to the previous or next cut. The scissors cut out a part.
5
Timeline
Your whole video from start (left) to end (right). The purple line is the playhead: the moment you’re looking at. Click anywhere to move it. Animations show as purple blocks on the text & effects row. Read more in Timeline and clips.
6
Sidebar
The icons down the right side open panels to change how things look and sound. Click an icon to open its panel.
The sidebar panels
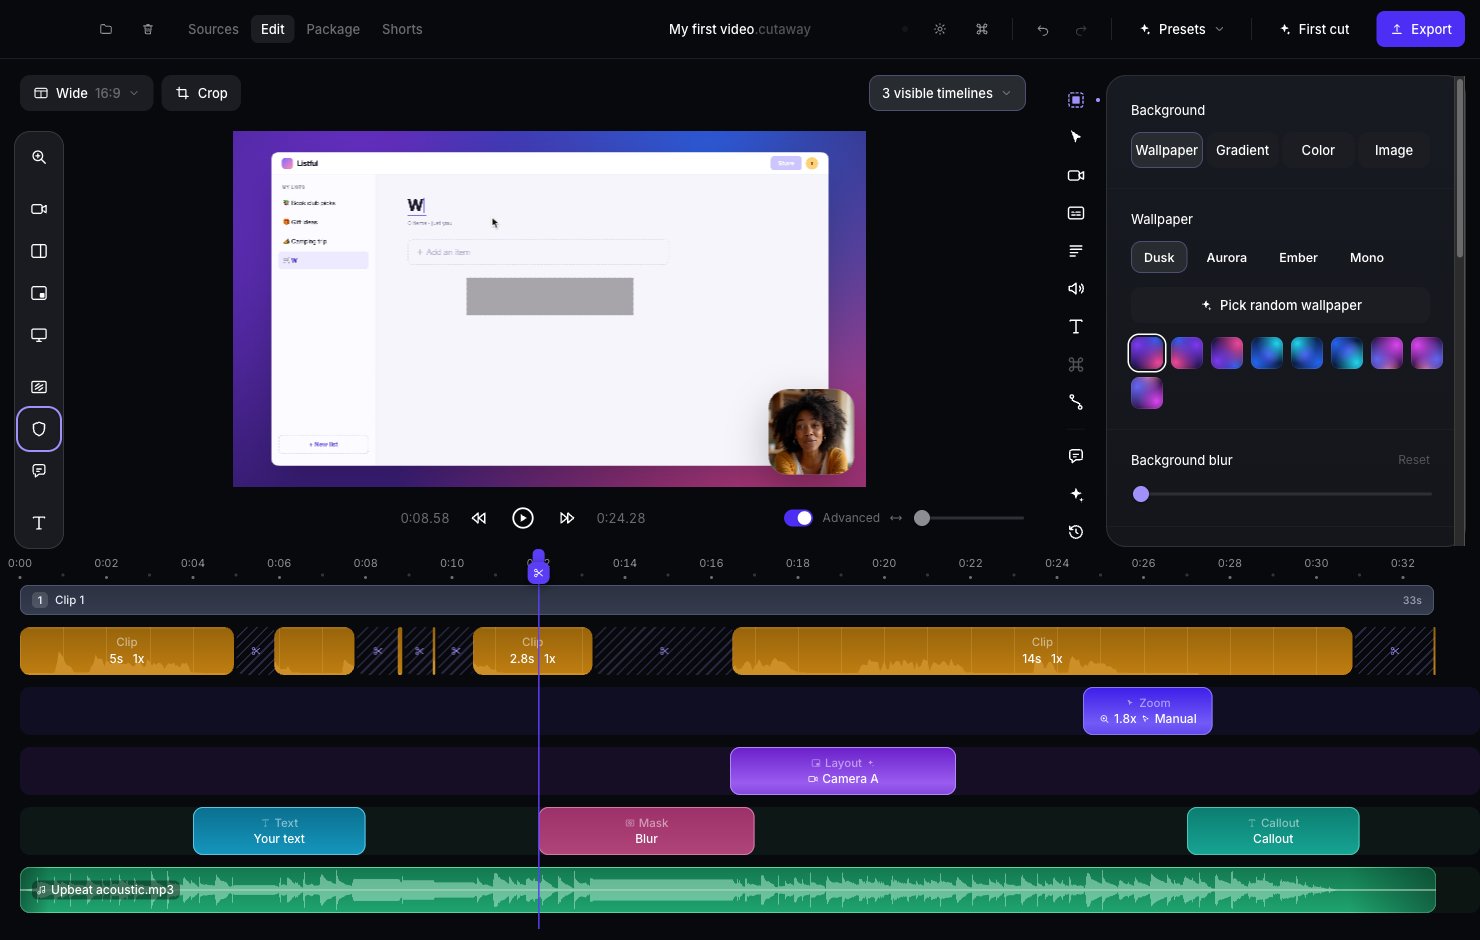
Simple and Advanced timeline
Next to the play controls is an Advanced switch. Leave it off while you’re learning. The simple timeline shows your text and effects, your video, and your music. Turn Advanced on to see every layer separately, such as layouts, zooms, blurs and speed changes. See Simple and Advanced timeline.